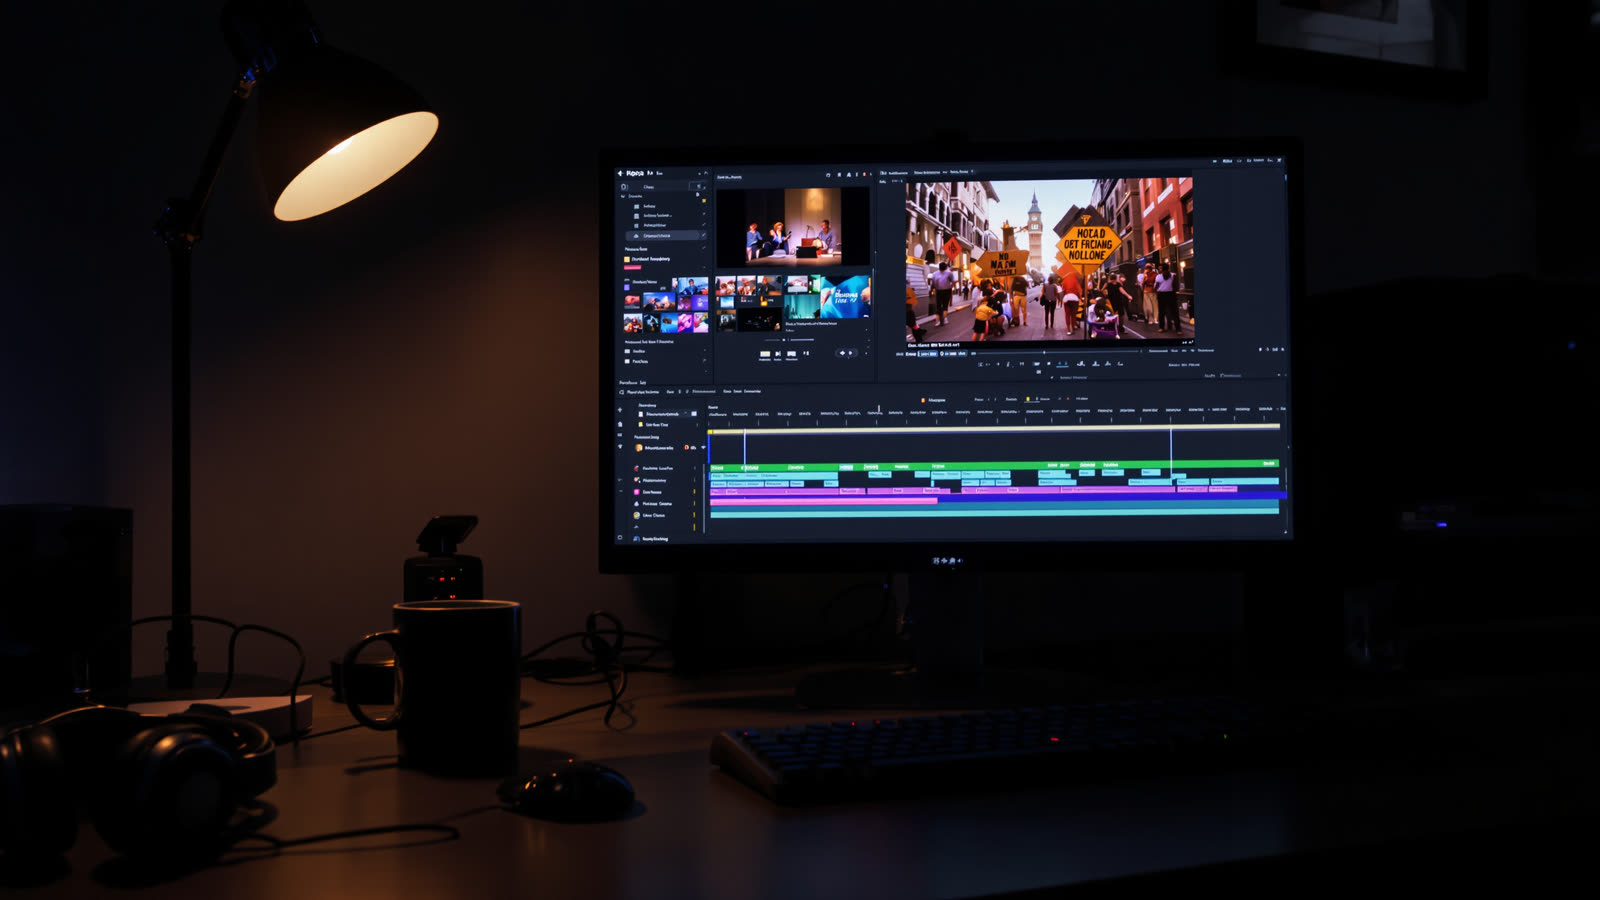
A single AI clip is a moment. A video people actually watch to the end is usually three or four of those moments, cut tight and put in the right order. Skitify keeps every scene of a project together, and Edit video turns them into one finished file.
The timeline
Every scene sits on the timeline as a strip of frames. Tap one to select it and the playhead jumps there. Drag the yellow handles at its edges to trim, which is where most of the polish happens: AI clips often take a second to get going, and cutting that second makes the whole video feel faster.
To change the order, hold a scene and drag it to a new place. The others slide aside to make room. Pinch, or hold Ctrl and scroll, to zoom in when you need to trim a fraction of a second.
Transitions
The dot between two scenes opens the transition. Fade, dissolve, slide, zoom and dip to black are all there, with a choice of length. Use them sparingly, between scenes that change place or time. A hard cut is still the best transition for dialogue.
Subtitles
Most short videos are watched on mute. Add subtitle lines, drag them along the timeline to match the speech and pick a style. When you export, you decide whether to burn them into the picture.
Swap a take without starting over
If one scene isn't quite right, open its takes and pick another version. Your trim, transitions and subtitles stay where they were, only the picture changes.
Export
Export renders the cut in 720p or 1080p and saves it to your generations, ready to download or share. Exporting doesn't cost tokens, so try a few cuts until it feels right.